

As parents we love to hold onto our child’s artwork from school, stories they write, and awards they win, but we don’t always know how to store kids’ artwork. And you know how it goes; as the school years go on and we collect more and more artwork, we start to run out of space to keep it all. But we don’t want to part with it either
Great news! You don’t have to keep them in your home anymore and you don’t have to throw them away either. “But how?” you ask. “With a self storage unit!” we answer.
Read more about storing photos and artwork.
How to Store Kids’ Artwork
Step 1 – Secure a Storage Unit.
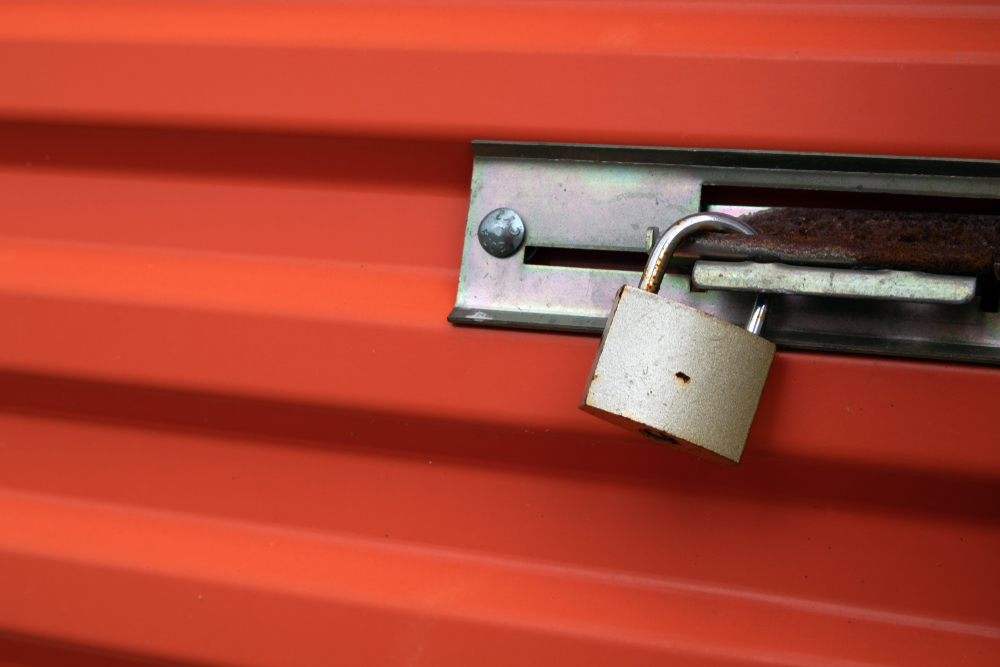
We recommend that you opt for a temperature control self storage unit. This will ensure the temps remain steady between 55 and 80 degrees Fahrenheit year-round, which will help prevent damage to your child’s artwork and all those precious memories you can’t part with just yet. These units help keep the humidity down as well. You will likely only need a 5×5 storage unit if this is all you plan to store. However, if you want to take advantage of this extra storage space for other items as well, you can go with a 5×10 or 10×10 and even larger.
Step 2 – Purchase Storage Containers or Boxes.
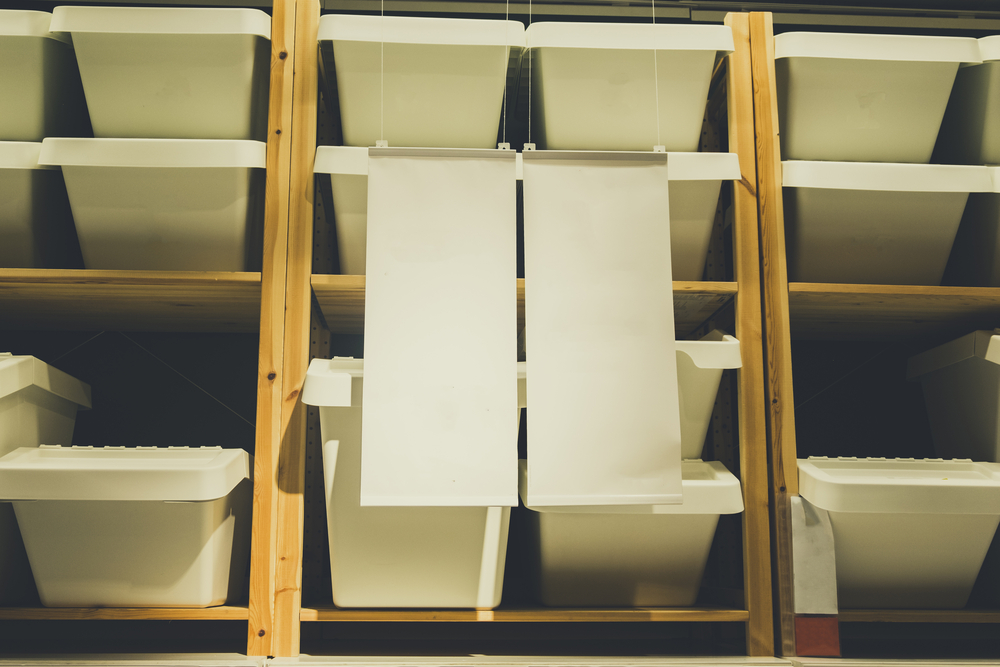
You can purchase small, medium, large, or extra-large boxes in our retail stores located inside the rental office. The boxes we sell are specially treated to withstand long periods of time in storage without breaking down, crushing or becoming soft. They also help prevent mildew from growing on the items kept inside.
If boxes aren’t your thing, you can pick up some long flat plastic bins with lids that are made for keeping under the bed. They work perfectly for papers and artwork because they are oversized and can fit the often odd sizes and shapes of the art projects your kids bring home.
If you have more than one child, you should get separate boxes or bins for each kid. This will help keep everything sorted out for later when your college student wants to look back and see what they did in elementary school. Or when the day comes when you finally give it to them to keep because you no longer want to keep it and you know they will have fun showing their kids what they did back when they were in school.
Step 3 – Get Organized.
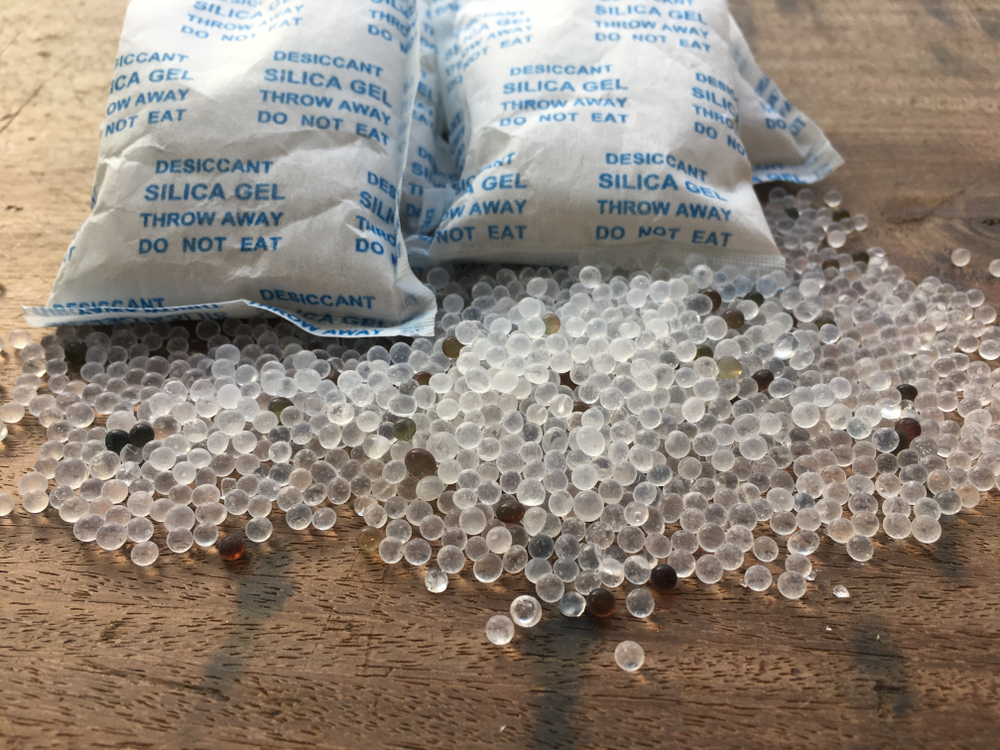
With a little bit of time and organization, you can protect and store your child’s artwork to keep for years to come. Start by collecting all the little silica gel packs you can find. They usually come inside purses, backpacks, luggage, and other bags and totes that you buy. They also come with electronics like a TV or DVD player. These little packs are designed to absorb moisture to keep the items they come with protected over long periods of time in a warehouse or on store shelves So, they are perfect for this project. Instead of just tossing them in the garbage like you usually do, take advantage of them being free and reuse them!
Gather up all your child’s artwork and special projects that you want to keep. Pick out a place in your home to keep it while you get it all together. Somewhere like the spare bedroom where it won’t be in your way is a good idea. As you gather it up, go through it and see what’s worth keeping. I know, I know, everything your child does is perfect and award-winning! But let’s get serious here; not all of it is really worth keeping. Take a few moments and look through it. After some tears and probably a few laughs, you will know what is an absolute must-keep and which items can be ceremoniously discarded. If you are unsure, err on the side of caution and keep it for now.
Purchase some manila file folders and/or large envelopes. You should also pick up some labels and a black marker. You will likely only need one box of file folders or envelopes. Get legal-size folders (8.5″ x 14″) because oftentimes the artwork is larger than a regular sheet of paper. If you purchase envelopes, get the ones that are 10″ x 13″ or a little larger. Avoid ones with an adhesive strip. That glue can cause yellowing to the contents over long periods of time.
Step 4 – Start Packing It Up.
Label the file folders and envelopes with each child’s name. Place the artwork, papers, and awards that each child has brought home in their respective folder or envelope. If there is a larger project that has many pieces, keep it in one folder or envelope. Label it as such for each child as well. Be careful not to just shove the papers in there. Be gentle and take your time to prevent folds and tears.
Take the plastic bin or boxes you purchased and put a few silica gel packs in the bottom. Start laying a couple of file folders or envelopes on top. Add more silica gel packs and repeat until you have all the artwork inside the box or bin. Do this for every box and the plastic bin you have. Write the child’s name on the outside of the box or bin on the top and at least two sides. If there’s room, also write what’s inside. For example: “Joey’s School and Art Projects”.
Recap: How to Store Kid’s Artwork
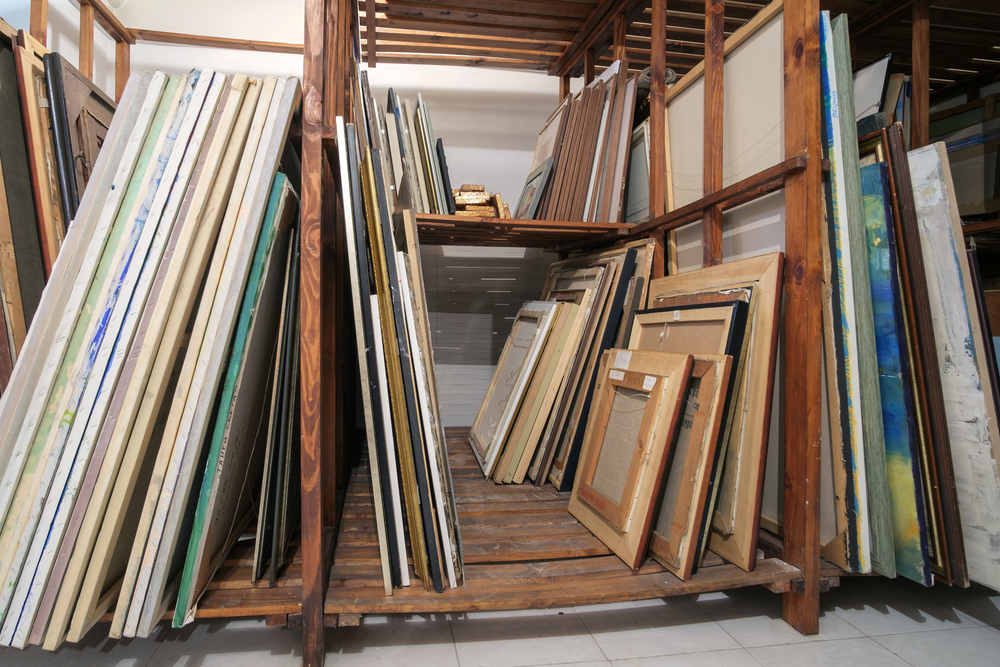
That’s it! Simply take it all to your storage unit once you have it packed and you are all set. Be sure to stack your boxes and bins flat to keep the papers inside from shifting and damaging each other. Then, if the urge arises when you are feeling nostalgic, you can easily visit your self storage unit and take out the boxes or bins and enjoy all the memories.
If you’ve just realized that you need to get your kid’s projects out of the house and into storage, you can reserve or rent a storage unit online at any time and get started. You can also call any of our friendly property managers or stop by our many locations and they will be glad to help you out. If you have more tips for how to store kids’ artwork and school projects safely, leave them in the comments below.